With the increased need for privacy in the last decade, tools like BP Proxy Switcher have become more and more popular. It uses a list of proxy IPs and allows you to quickly switch between them.
BP Proxy Switcher is a browser extension that lets you quickly switch between multiple proxy servers. It supports Chrome and Firefox, offering an easy way to configure proxies, test connections, and browse securely. Users install it, add proxy details, and toggle servers directly from the toolbar.
As an experienced internet user and technology expert, I’ve used numerous tools to improve my online experience, and this extension has been one of my favorites. That’s because it’s efficient and easy to use.
In this guide, I’ll share what BP Proxy Switcher is, its key features, and how it can improve your browsing experience.
Table of contents.
- What is BP Proxy Switcher?
- BP Proxy Switcher Key Features
- How to Install BP Proxy Switcher
- How to Set Up and Configure BP Proxy Switcher
- How to Add Proxies to BP Proxy Switcher
- Final Words
1. What is BP Proxy Switcher?
BP Proxy Switcher is a helpful browser extension designed to help users switch between different proxy servers quickly.
It is particularly useful for people who need to access content from various geographical locations or maintain anonymity online. It’s a solution I’ve personally found extremely helpful when dealing with geo-restricted content or conducting privacy-sensitive tasks.
I’ve often encountered geo-restrictions and not being able to access certain websites was extremely annoying. However, this extension solves this by allowing you to appear as if you’re browsing from a different location.
2. BP Proxy Switcher Key Features
a. Proxy switching
The primary feature of this extension is its ability to switch between proxies seamlessly. This is very useful if you need to change your virtual location frequently.
b. Wide range of proxies
You can add as many proxy servers from different countries as you wish, which enables you to bypass regional restrictions.
c. Easy to use
The extension has a straightforward and intuitive interface, which makes it suitable even for novice users.
d. Enhanced privacy
By routing your internet connection through different proxies, you get an additional layer of privacy and security.
e. Speed
Unlike some proxy services that slow down your internet connection, with this extension you can maintain a healthy balance between speed and security.
3. How to Install BP Proxy Switcher
Installing the extension is a straightforward process.
As someone who has gone through the installation process multiple times on various devices, I can guide you through each step to a successful installation.
Whether you’re looking to bypass geo-restrictions, maintain anonymity, or simply explore the internet more freely, installing BP Proxy Switcher is your first step.
a. Select a supported browser
It is available as an extension for popular web browsers like Google Chrome, Mozilla Firefox, and others. The first thing you need is a compatible browser.
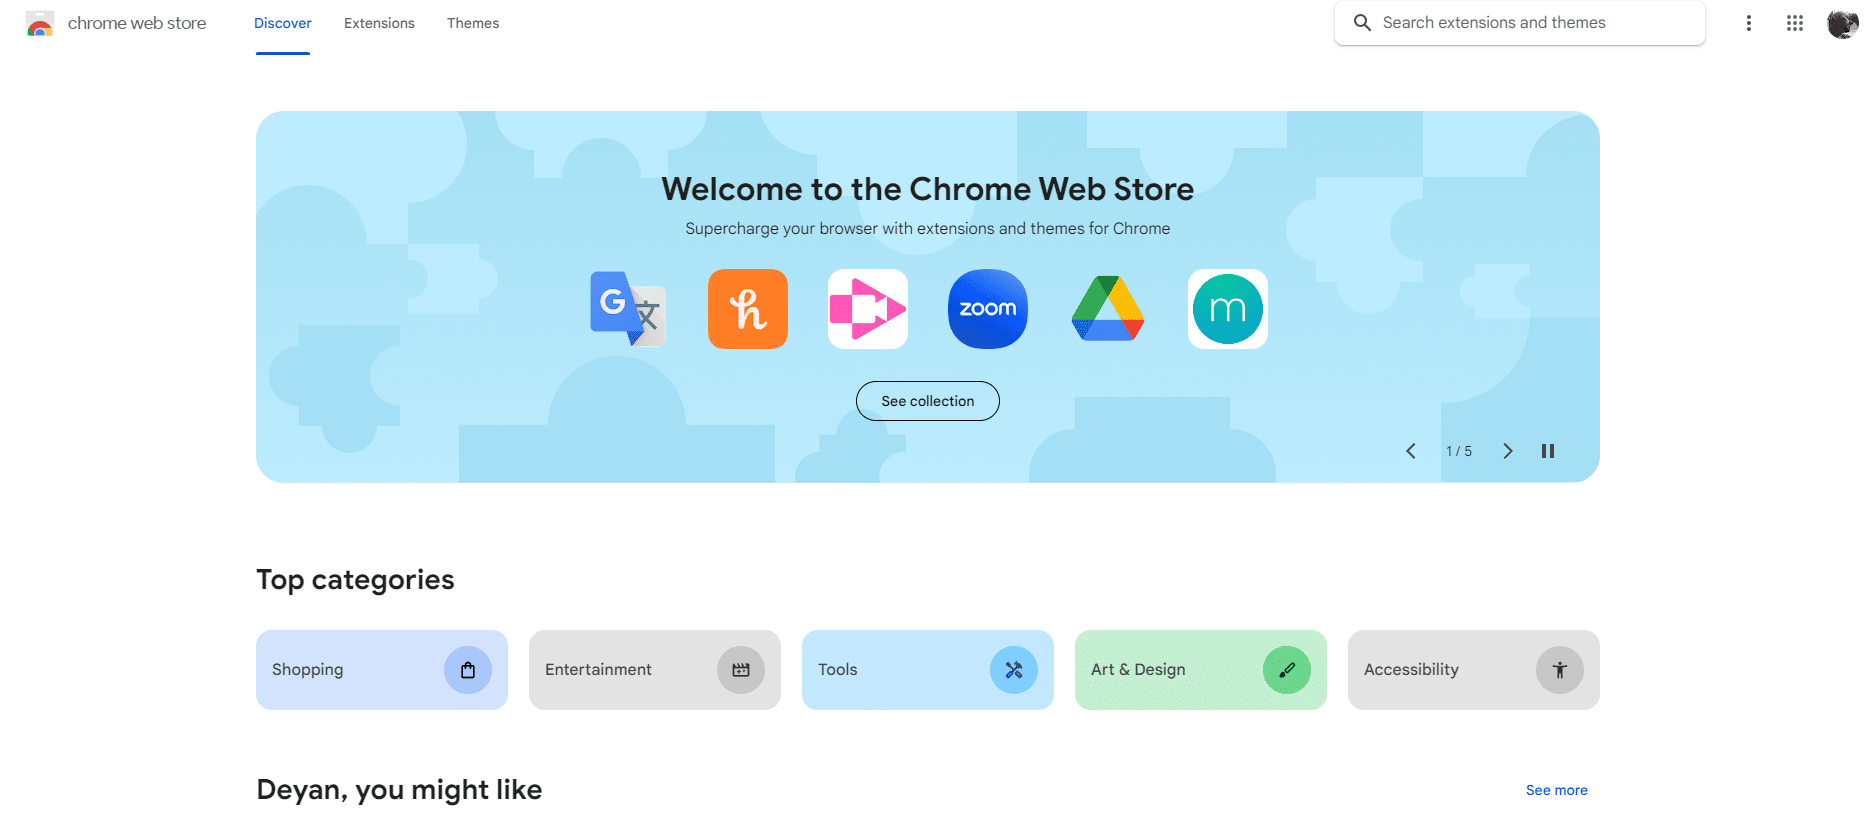
b. Visit the browser’s extension store
Open your web browser and navigate to the browser’s extension store. For Chrome users, this would be the Chrome Web Store, and for Firefox users, the Firefox Add-ons page.
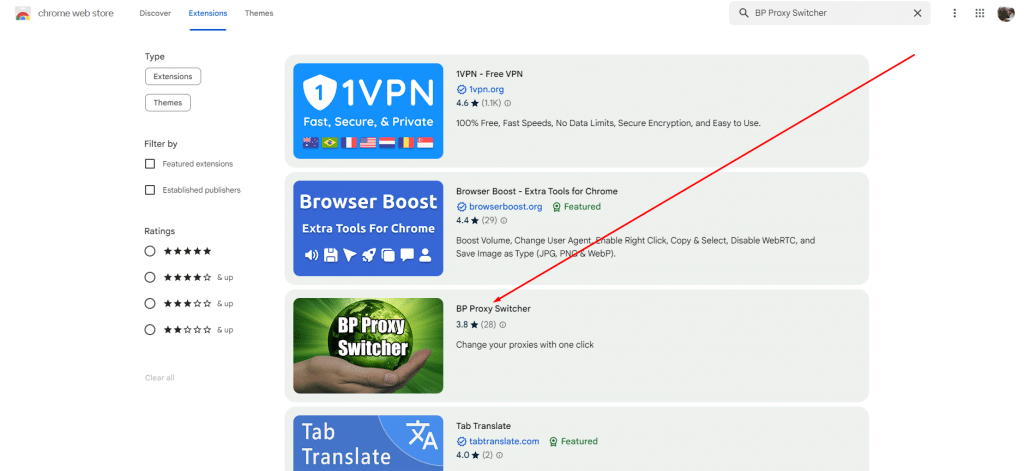
c. Find BP Proxy Switcher
In the extension store, use the search bar to look for “BP Proxy Switcher”. Make sure to type the name correctly to find the extension easily.
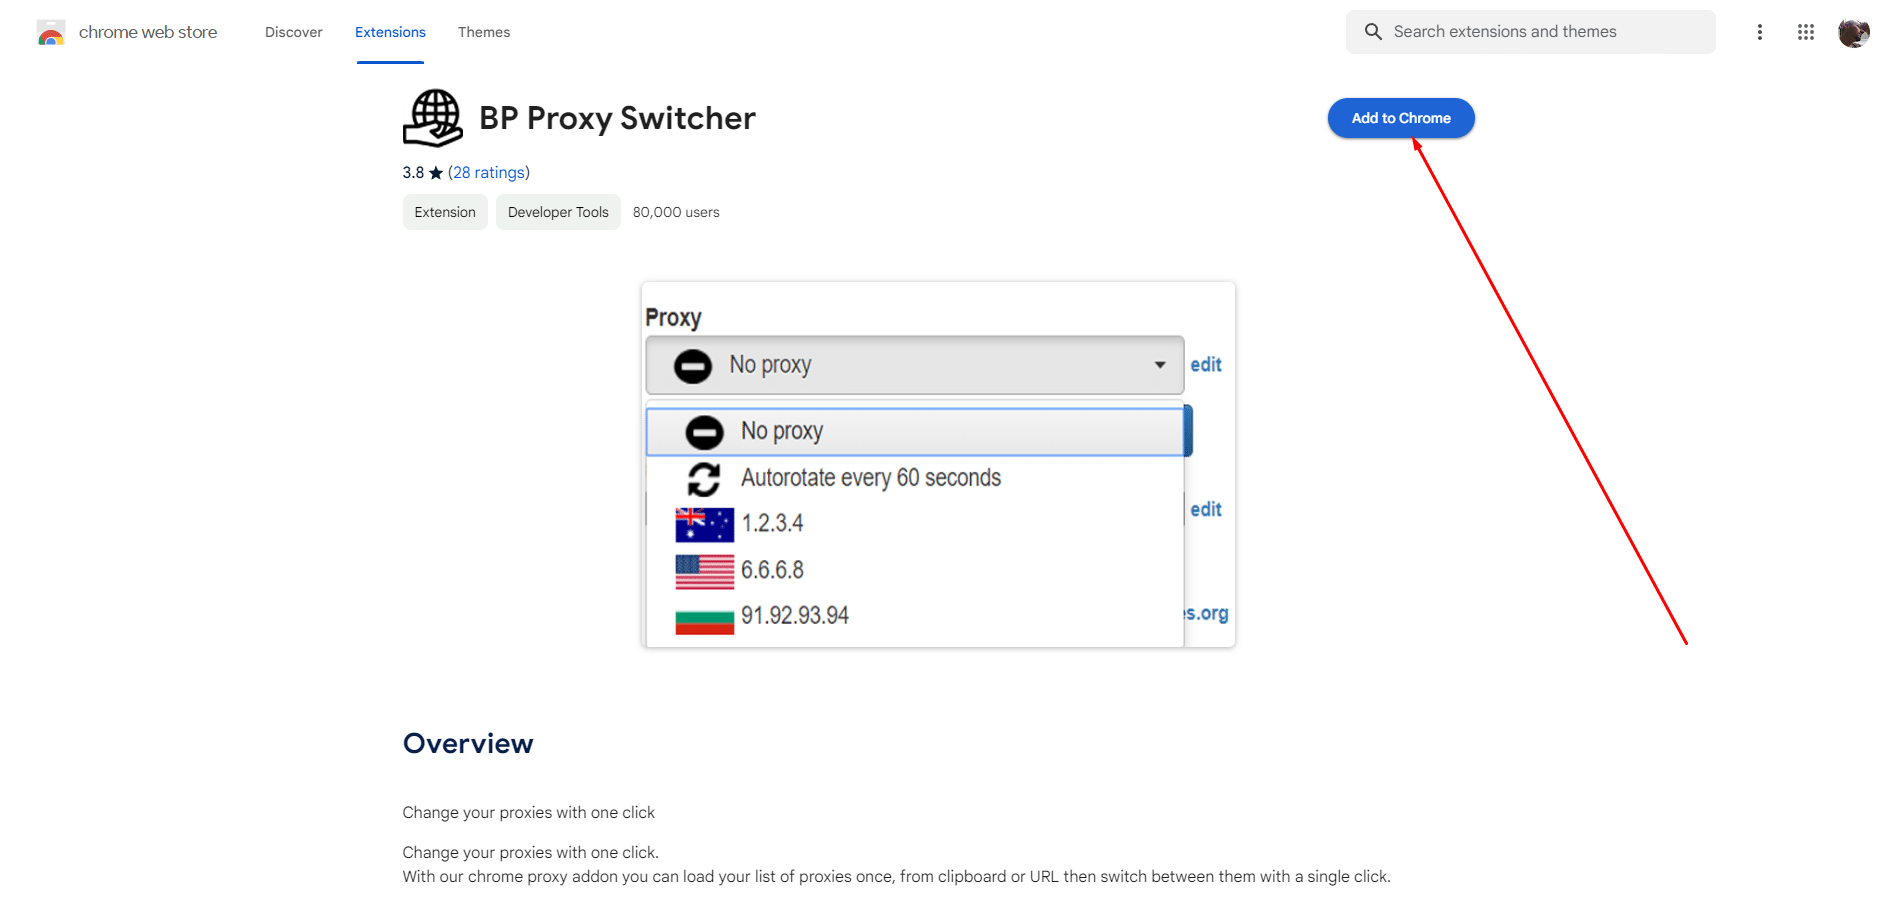
d. Install the extension
Once you find the extension in the search results, click on it to open its details page. Here, you will find an “Add to Crowser” or “Install” button. Click on it to start the installation process.
e. Grant permissions
Before the installation, the browser may ask for certain permissions for the extension to function correctly. Review these permissions and grant them if they seem appropriate to you.
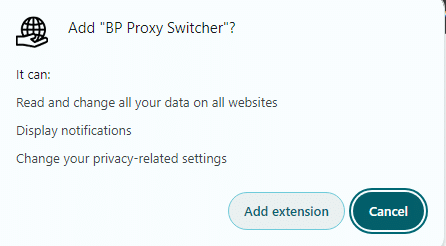
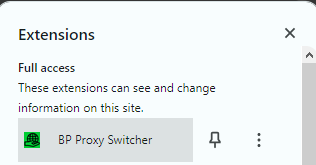
After granting the necessary permissions, the extension will automatically install. Once the installation is complete, you will see a confirmation message, and the BP Proxy Switcher icon will appear in your browser’s extension toolbar.
That’s it!
Installing BP Proxy Switcher is a simple process that can be completed in just a minute.
After the installation, you should configure the extension according to your needs. Let me walk you through this process.
Looking for a better way to manage your proxies with BP Proxy Switcher?
Enhance your proxy management with RapidSeedbox’s high-quality proxy services. Enjoy fast, secure, and seamless browsing, supported by exceptional performance and reliable support.
4. How to Set Up and Configure BP Proxy Switcher
Once you have successfully installed the extension on your browser, setting it up and configuring it to meet your specific needs is the next logical step.
This process involves customizing the extension’s settings to optimize your browsing experience.
Let’s see how it’s done:
a. Access the extension settings
Click on the BP Proxy Switcher icon in your browser’s extension toolbar. This will open the extension’s interface. Here, you will find various options for configuration.
b. Add and manage proxies
We’ll get into more detail a bit later, but you can add new proxies by entering their details (IP address, port, username, and password, if necessary). Additionally, you can manage your existing proxies here – editing details, removing proxies that are no longer needed, or organizing them based on your usage.
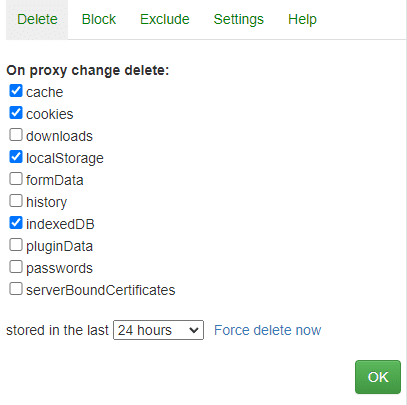
c. Security and privacy settings
Ensure that the security and privacy settings are configured according to your preferences. These include options like disabling cookies or browsing history when using certain proxies.
d. Additional tips
- Regularly update proxies: Keep your proxy list updated for the best possible performance.
- Consider your needs: It’s a good rule of thumb to choose proxies that offer a good balance between connection speed and security, especially if you use the internet for data-intensive activities.
- Use reliable proxy providers: Always source your proxies from a reliable and reputable provider to ensure safety and efficiency.
- Make sure you are aware of geo-restrictions: Be aware of the geo-restrictions of the services you wish to access, as this will guide you in selecting the appropriate proxies.
Setting up and configuring BP Proxy Switcher is a relatively easy process that can significantly enhance your online experience.
The steps and tips above can help you customize the extension to suit your specific needs.
5. How to Add Proxies to BP Proxy Switcher
Adding proxies to BP Proxy Switcher is extremely easy, which is one of the reasons why so many people use this extension.
This feature is particularly useful for users who have specific proxy servers they prefer or need to use for their browsing activities. As someone who regularly uses different proxies for various tasks, let me guide you through the steps of adding proxies to the extension.
a. Access the extension
First, click on the BP Proxy Switcher icon in your browser’s extension toolbar. This will open the extension’s interface.
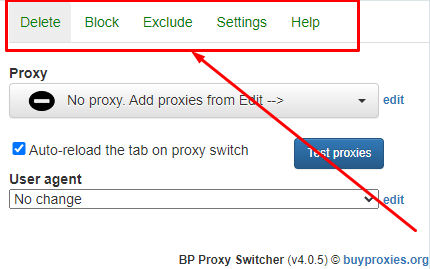
b. Familiarize yourself with BP Proxy Switcher
In the extension interface, you’ll see a menu on the top. It contains all the settings and options you’ll need.
c. Set up proxy rules
One of the advanced features of BP Proxy Switcher is the ability to set rules for proxy usage. This means you can specify which websites should automatically connect through a particular proxy and which ones should be accessed via your IP. If you’ve ever used a VPN, this feature is like split tunneling.
d. Add your proxy details
In the main menu, you’ll find an option to add a new proxy. Here, you need to enter the details of the proxy server you wish to add. This includes the proxy’s IP address, port number, and, if required, username and password.
- IP address: Enter the IP address of the proxy server.
- Proxy type: Select the type of proxy you’ll be using – HTTP(S), SOCKS4, or SOCKS5.
- Authentication (if needed): If the proxy server requires authentication, enter the username and password.
e. Save your proxy configuration
After entering the proxy details, click OK before proceeding.
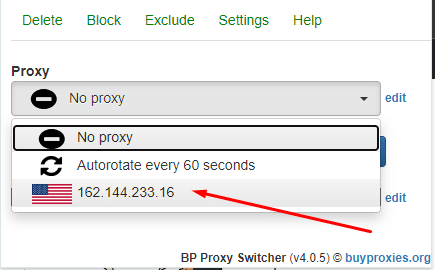
f. Activate the proxy
Once the new proxy is added, you can activate it by selecting it from the list of available proxies in the main interface of the extension.
g. Test the proxy
After setting up proxies and rules, it’s important to test the connections. You can do this by activating a proxy and visiting a website that displays your current IP address and location like: whatismyipaddress.com/.
This will show you whether your proxy is working correctly and provides the anonymity or access you require.
h. Additional tips
- Verify your proxy details: Ensure that the proxy details you’re entering are accurate. Incorrect IP addresses or port numbers will prevent the proxy from working.
- Measure the speed: Test your proxies for anonymity and speed, especially if you’re using them for sensitive tasks or streaming content. You can use the speed test by Ookla to find out your download and upload speeds.
Adding proxies to BP Proxy Switcher is a straightforward process. Whether you need privacy, accessing geo-blocked content, or both – make sure you follow the steps properly.
Once you have the extension set up and configured correctly, you’re now ready to browse the Web more securely.
Looking for a better way to manage your proxies with BP Proxy Switcher?
Enhance your proxy management with RapidSeedbox’s high-quality proxy services. Enjoy fast, secure, and seamless browsing, supported by exceptional performance and reliable support.
6. Final Words
To summarize, BP Proxy Switcher is a handy tool for anyone who needs to improve their online experience.
Whether it’s for accessing content from around the world, maintaining privacy, or simply exploring the internet without restrictions, this extension offers a simple yet effective solution.
However, remember, that even though tools like this offer numerous benefits, it’s important to use them responsibly and ethically.
Always respect the laws and regulations of your country when using proxy services.
Very informative read. Maybe add some visuals next time.!
Thank you Mandel, we will!
Helpful and concise writing. Very user-friendly explanation.!
Thank you Ulysses!
Loved how you broke things down. Maybe add some visuals next time.
Thank you Alberta, we’ll add more visuals with the next blog post update!
This is genuinely helpful. l definitely recommend this to others.
Thank you Tyler!
Good effort overall! You should write more often.
Thank you Morton!
Very informative read. Keep up the great work!
Thank you Alma!
Impressed by the level of detail. You should write more often.
Thanks Eugene!
Really well structured. Thanks for sharing your knowledge..
Thank you Nat.